All you need is some cheap scotch tape and 2 colors you would like to see together! or if you already have a color on, you are bored with it, but don't have time to change your mani completely- this is a great way to go!
A diagonal mani!
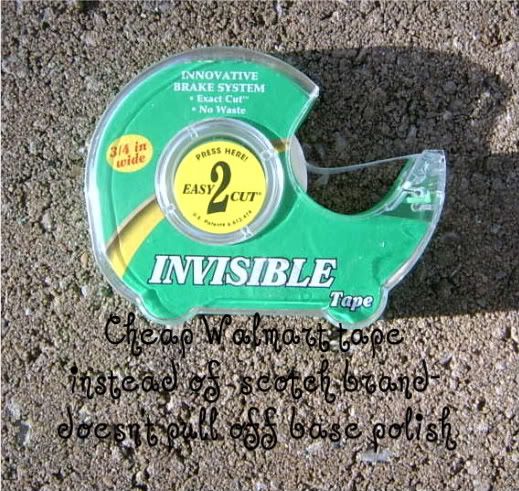
I prefer this tape over the regular 'Scotch' tape brand b/c when I have tried the scotch brand, it took off some of the polish from underneath.
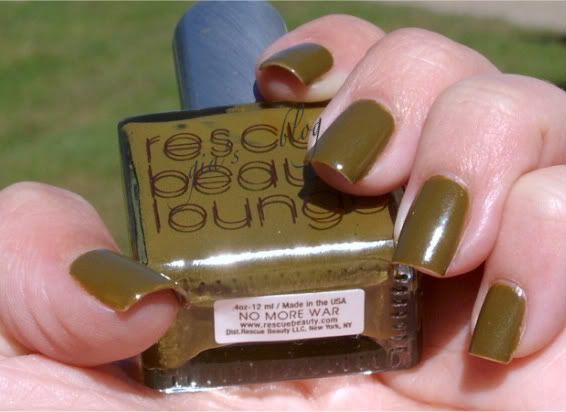
Here is the mani I had before adding to it:
So if you are doing this over your existing color, you don't need to wait for it to dry. If you are doing this from the start, I recommend you do your base color just like you would a normal mani, top coat and all, so it will dry faster, and once it is, all you do, is get your tape out, and go like this:
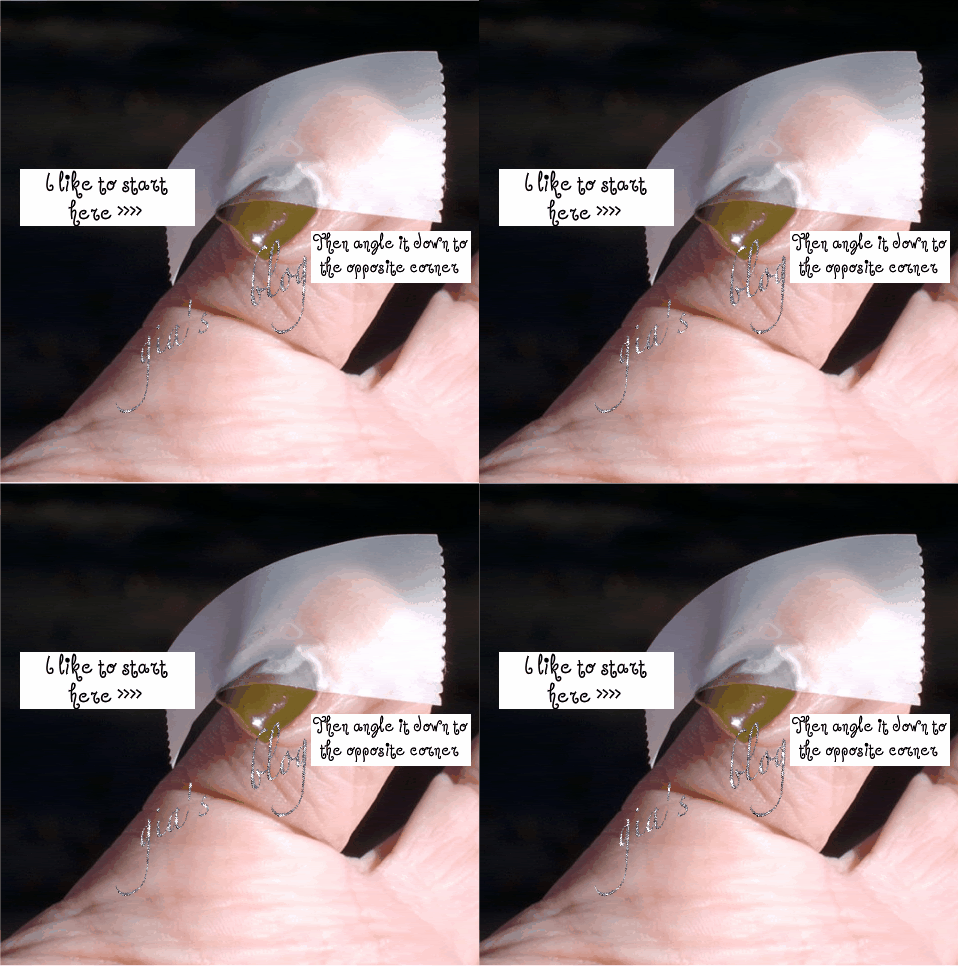
I do realize this picture became slightly distorted, I will work on fixing it in future pics!... it is from my watermarking, I think- I may have to skip the glitter effect! :)
I find it easier to tape all of one hand, then tape the other after you've polished the first hand. You'll have to see what works best for you. Once you've taped, it looks like this:
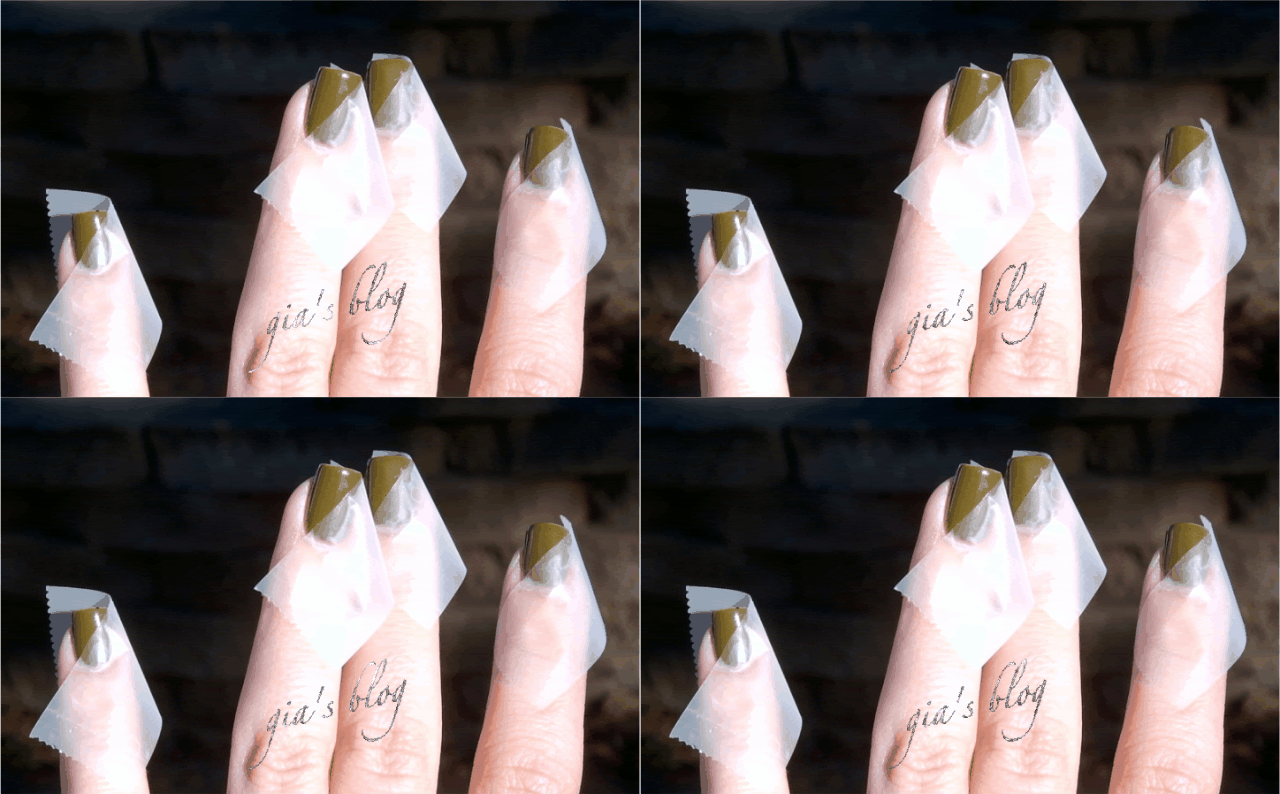
The tape doesn't have to be pushed down on the whole nail. Only along the dividing line. Sometimes I do have to make sure the free edge and the edge near the skin are pushed down again when I go to put the polish on. Then you add your polish and it will look like this:
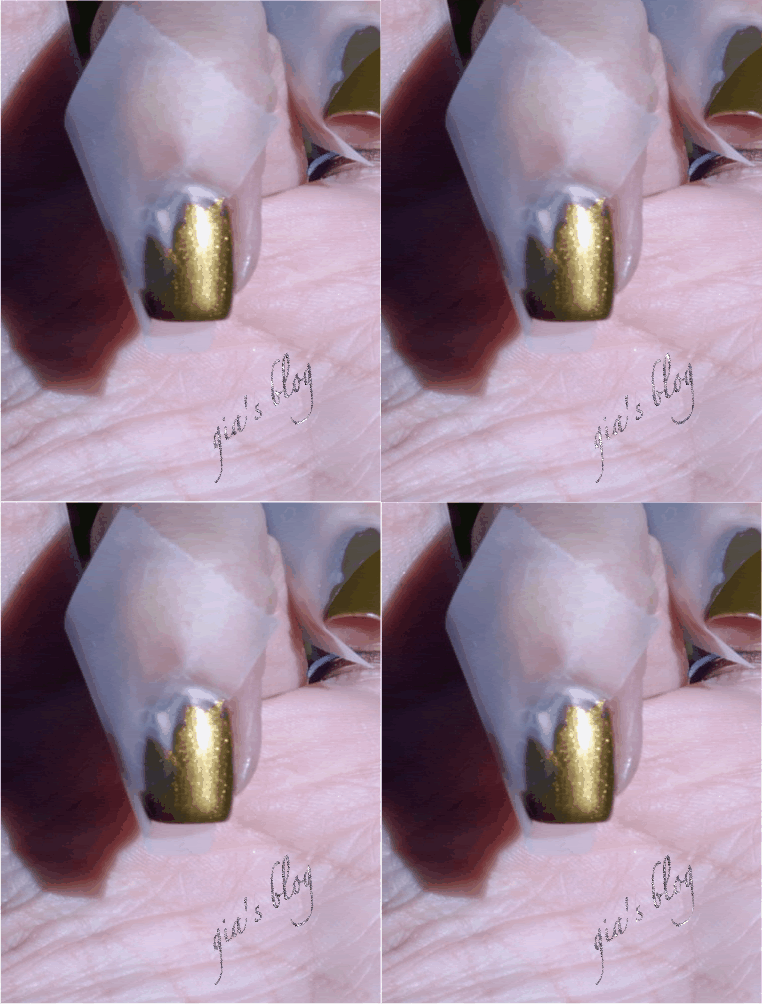
Then I carefully pull the tape off while the polish is still wet. In my experience, if you let it dry, some of your crisp line will come off with the tape. So- polish, remove tape, polish next nail, remove tape ect.
Once you remove the tape, it will look like this:
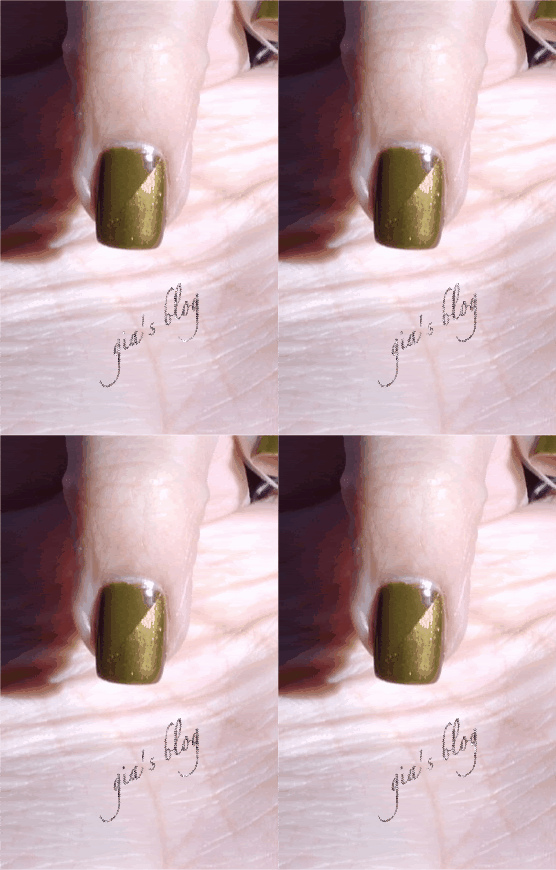
distorted picture again, glitter's gotta go it seems.
Once you polish all over your nails, add a top coat and you're done! I didn't plan on keeping this mani on, so I tried different colors with the base color to see what I liked most. Here it is:
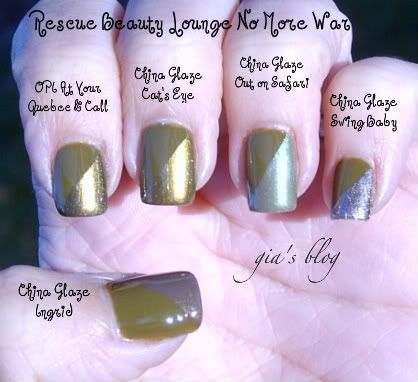
So which color do you like most with this base color?
I hope this helps give you an easy idea for something a little different!
Here is the one I did over the weekend- it only took me 10 minutes at most to add this plus a top coat!
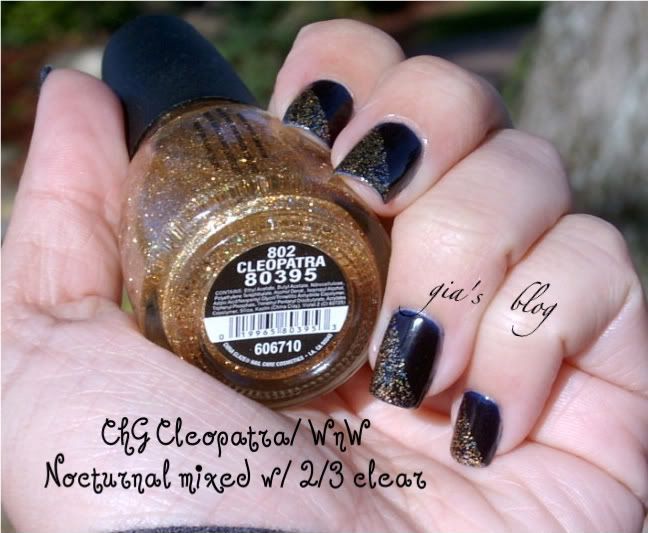
Thanks for reading! I can't wait to start on my next post! Also, please click on the little follow button at the top of the page, and follow me! :)
I enjoyed your tutorial. I must get this tape and give this looka a try. I love the glitter with noctural! Thanks for sharing :D
ReplyDeleteThanks and you are welcome! :)
ReplyDelete